Showing posts with label handmade. Show all posts

Thursday, June 25, 2020

Origami Mask Directions

I've been working on masks for months now and this is one style I particularly like. This is my version of the popular origami, octagon or 3D mask.  If you make it, I'd love to see!

Origami Mask Instructions.

(Use 3/8" seam allowance for adult size and I found 1/4" seam allowance works best for the child size mask.)

For ties, cut 2 strips of t-shirt material 10-12” long by 1” wide. Pull the ends of the material to cause the strips to curl.

How to cut out the pattern:

Cut 2 rectangles of fabric: 

Main: 7.5” x 11.5" (child size; 6.5" x 10")

Lining: 7.5” x 10" (child size; 6.5" x 8.5")

Optional: 7.5” x 10” interfacing (child size; 6.5" x 8.5")


 Center lining over the main fabric with right sides facing.
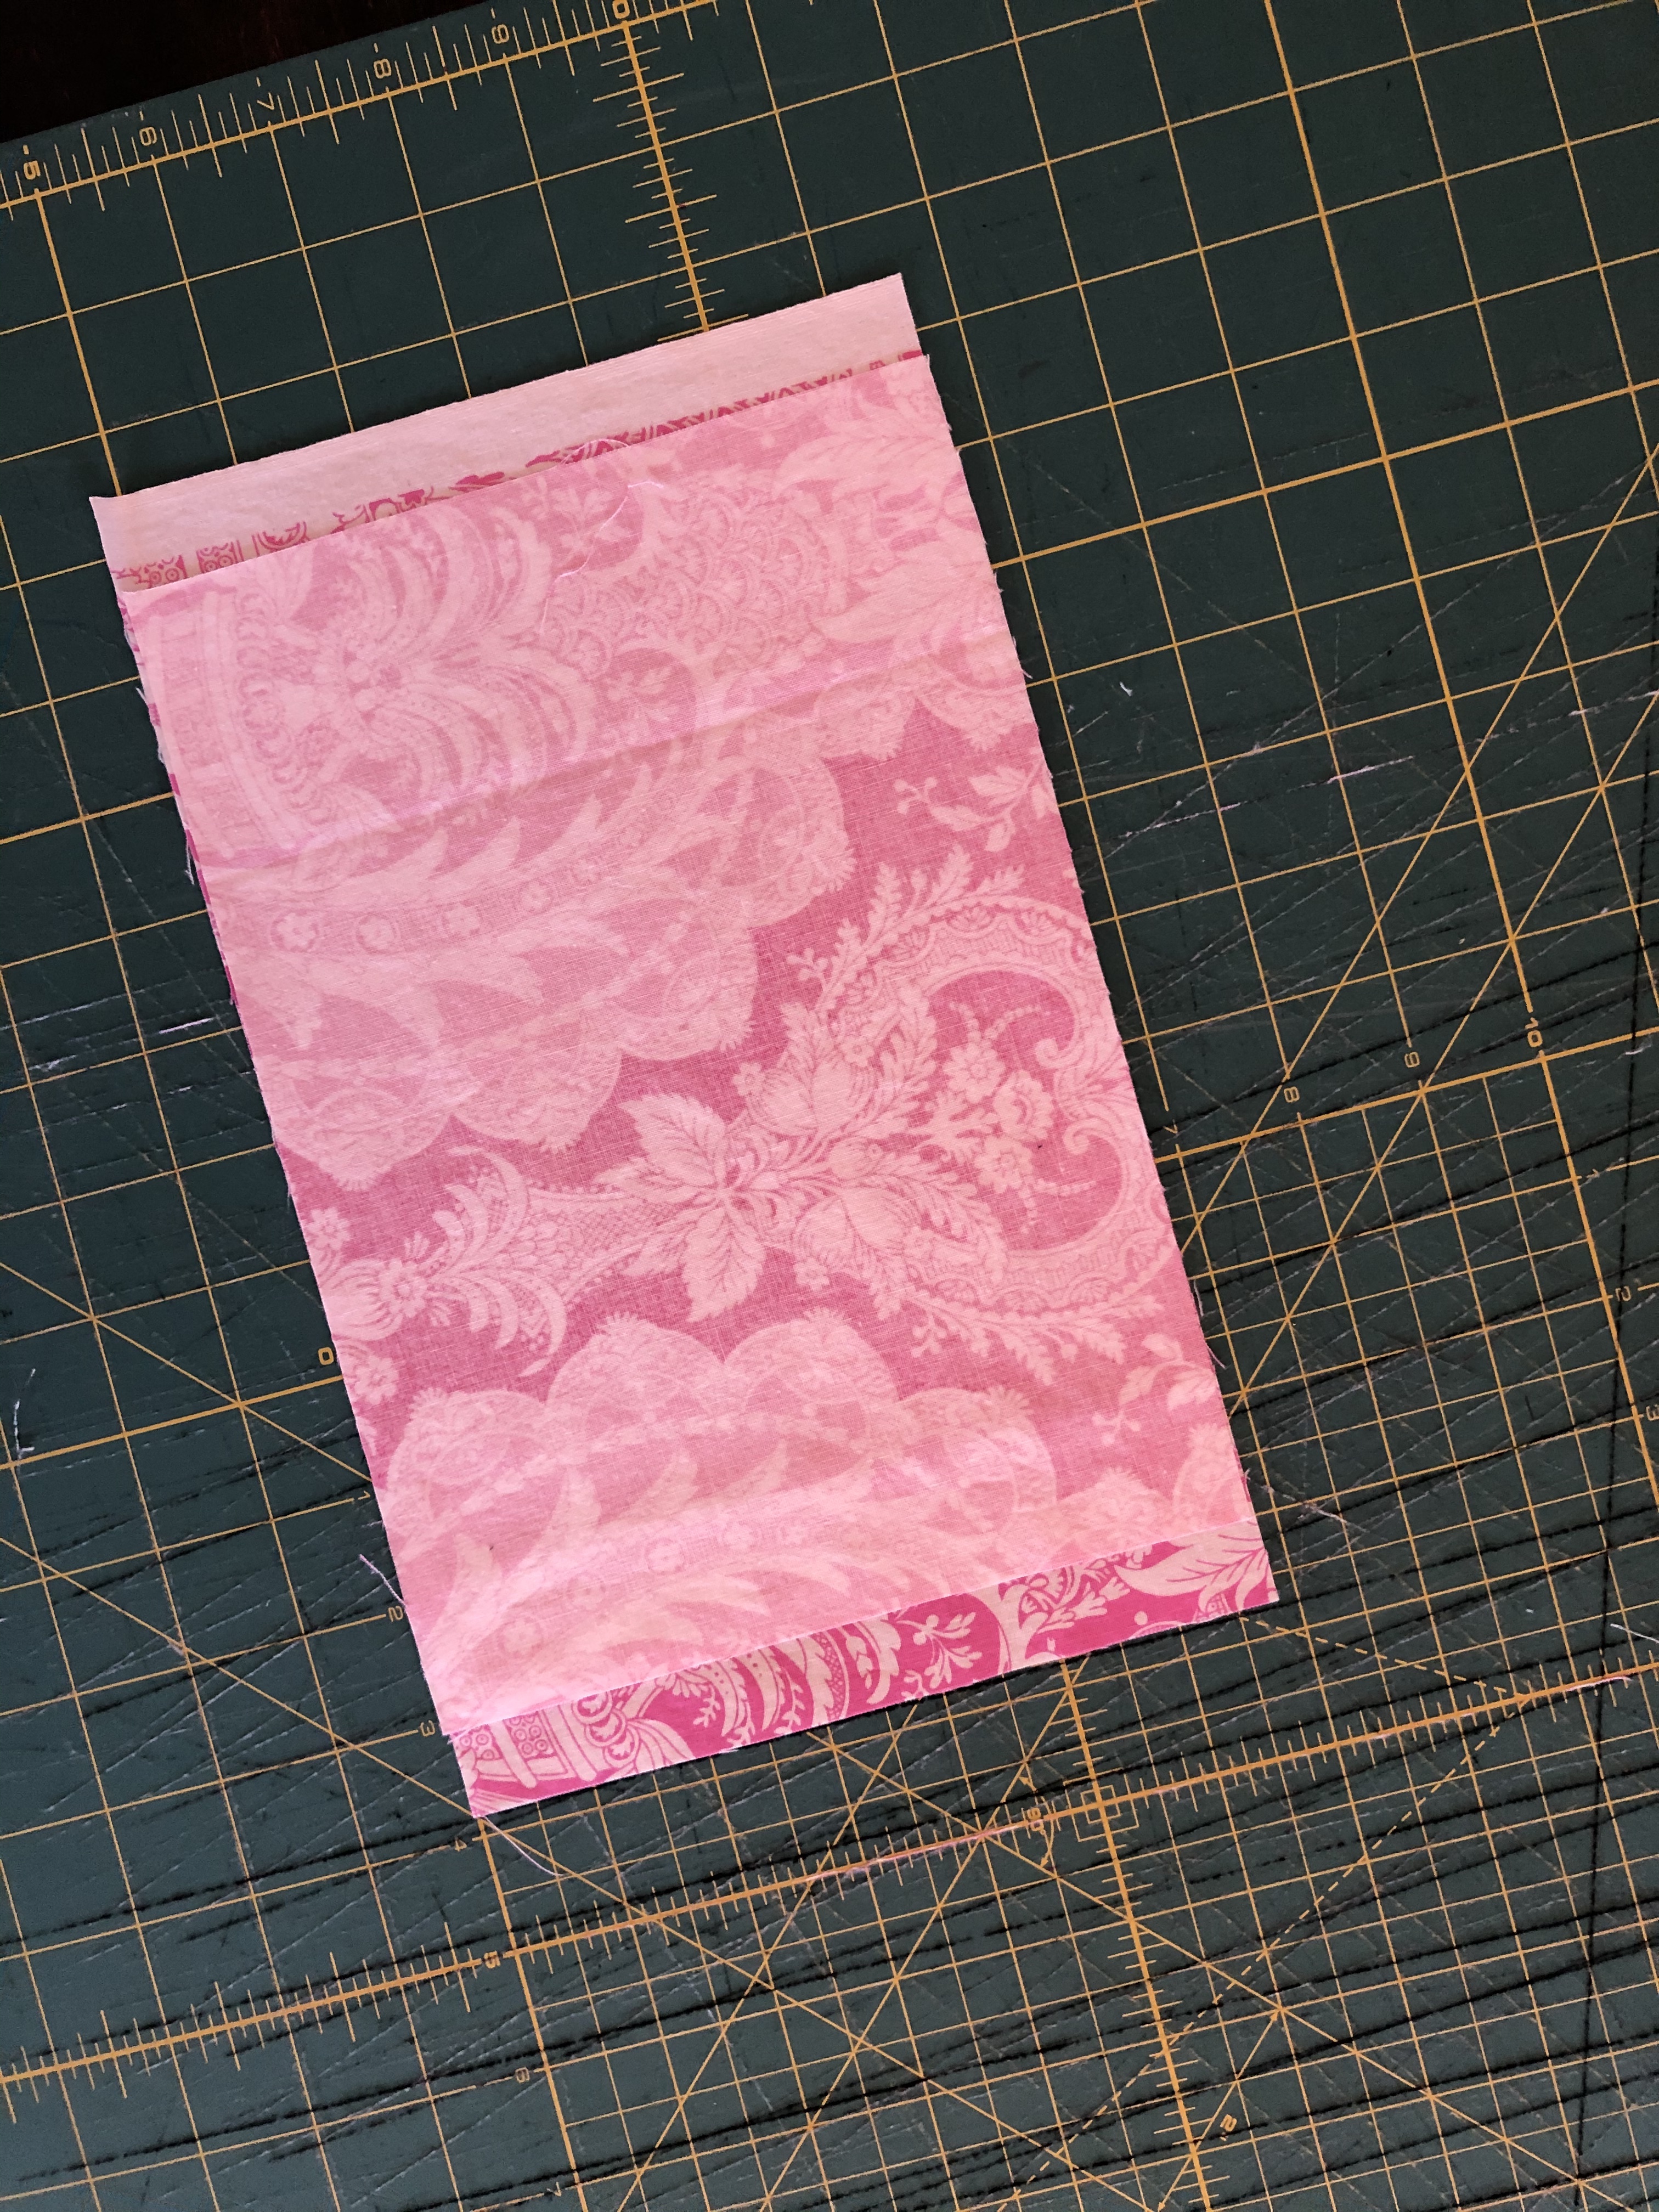


Flip both pieces over and fold excess from main fabric back over itself. Press folds.
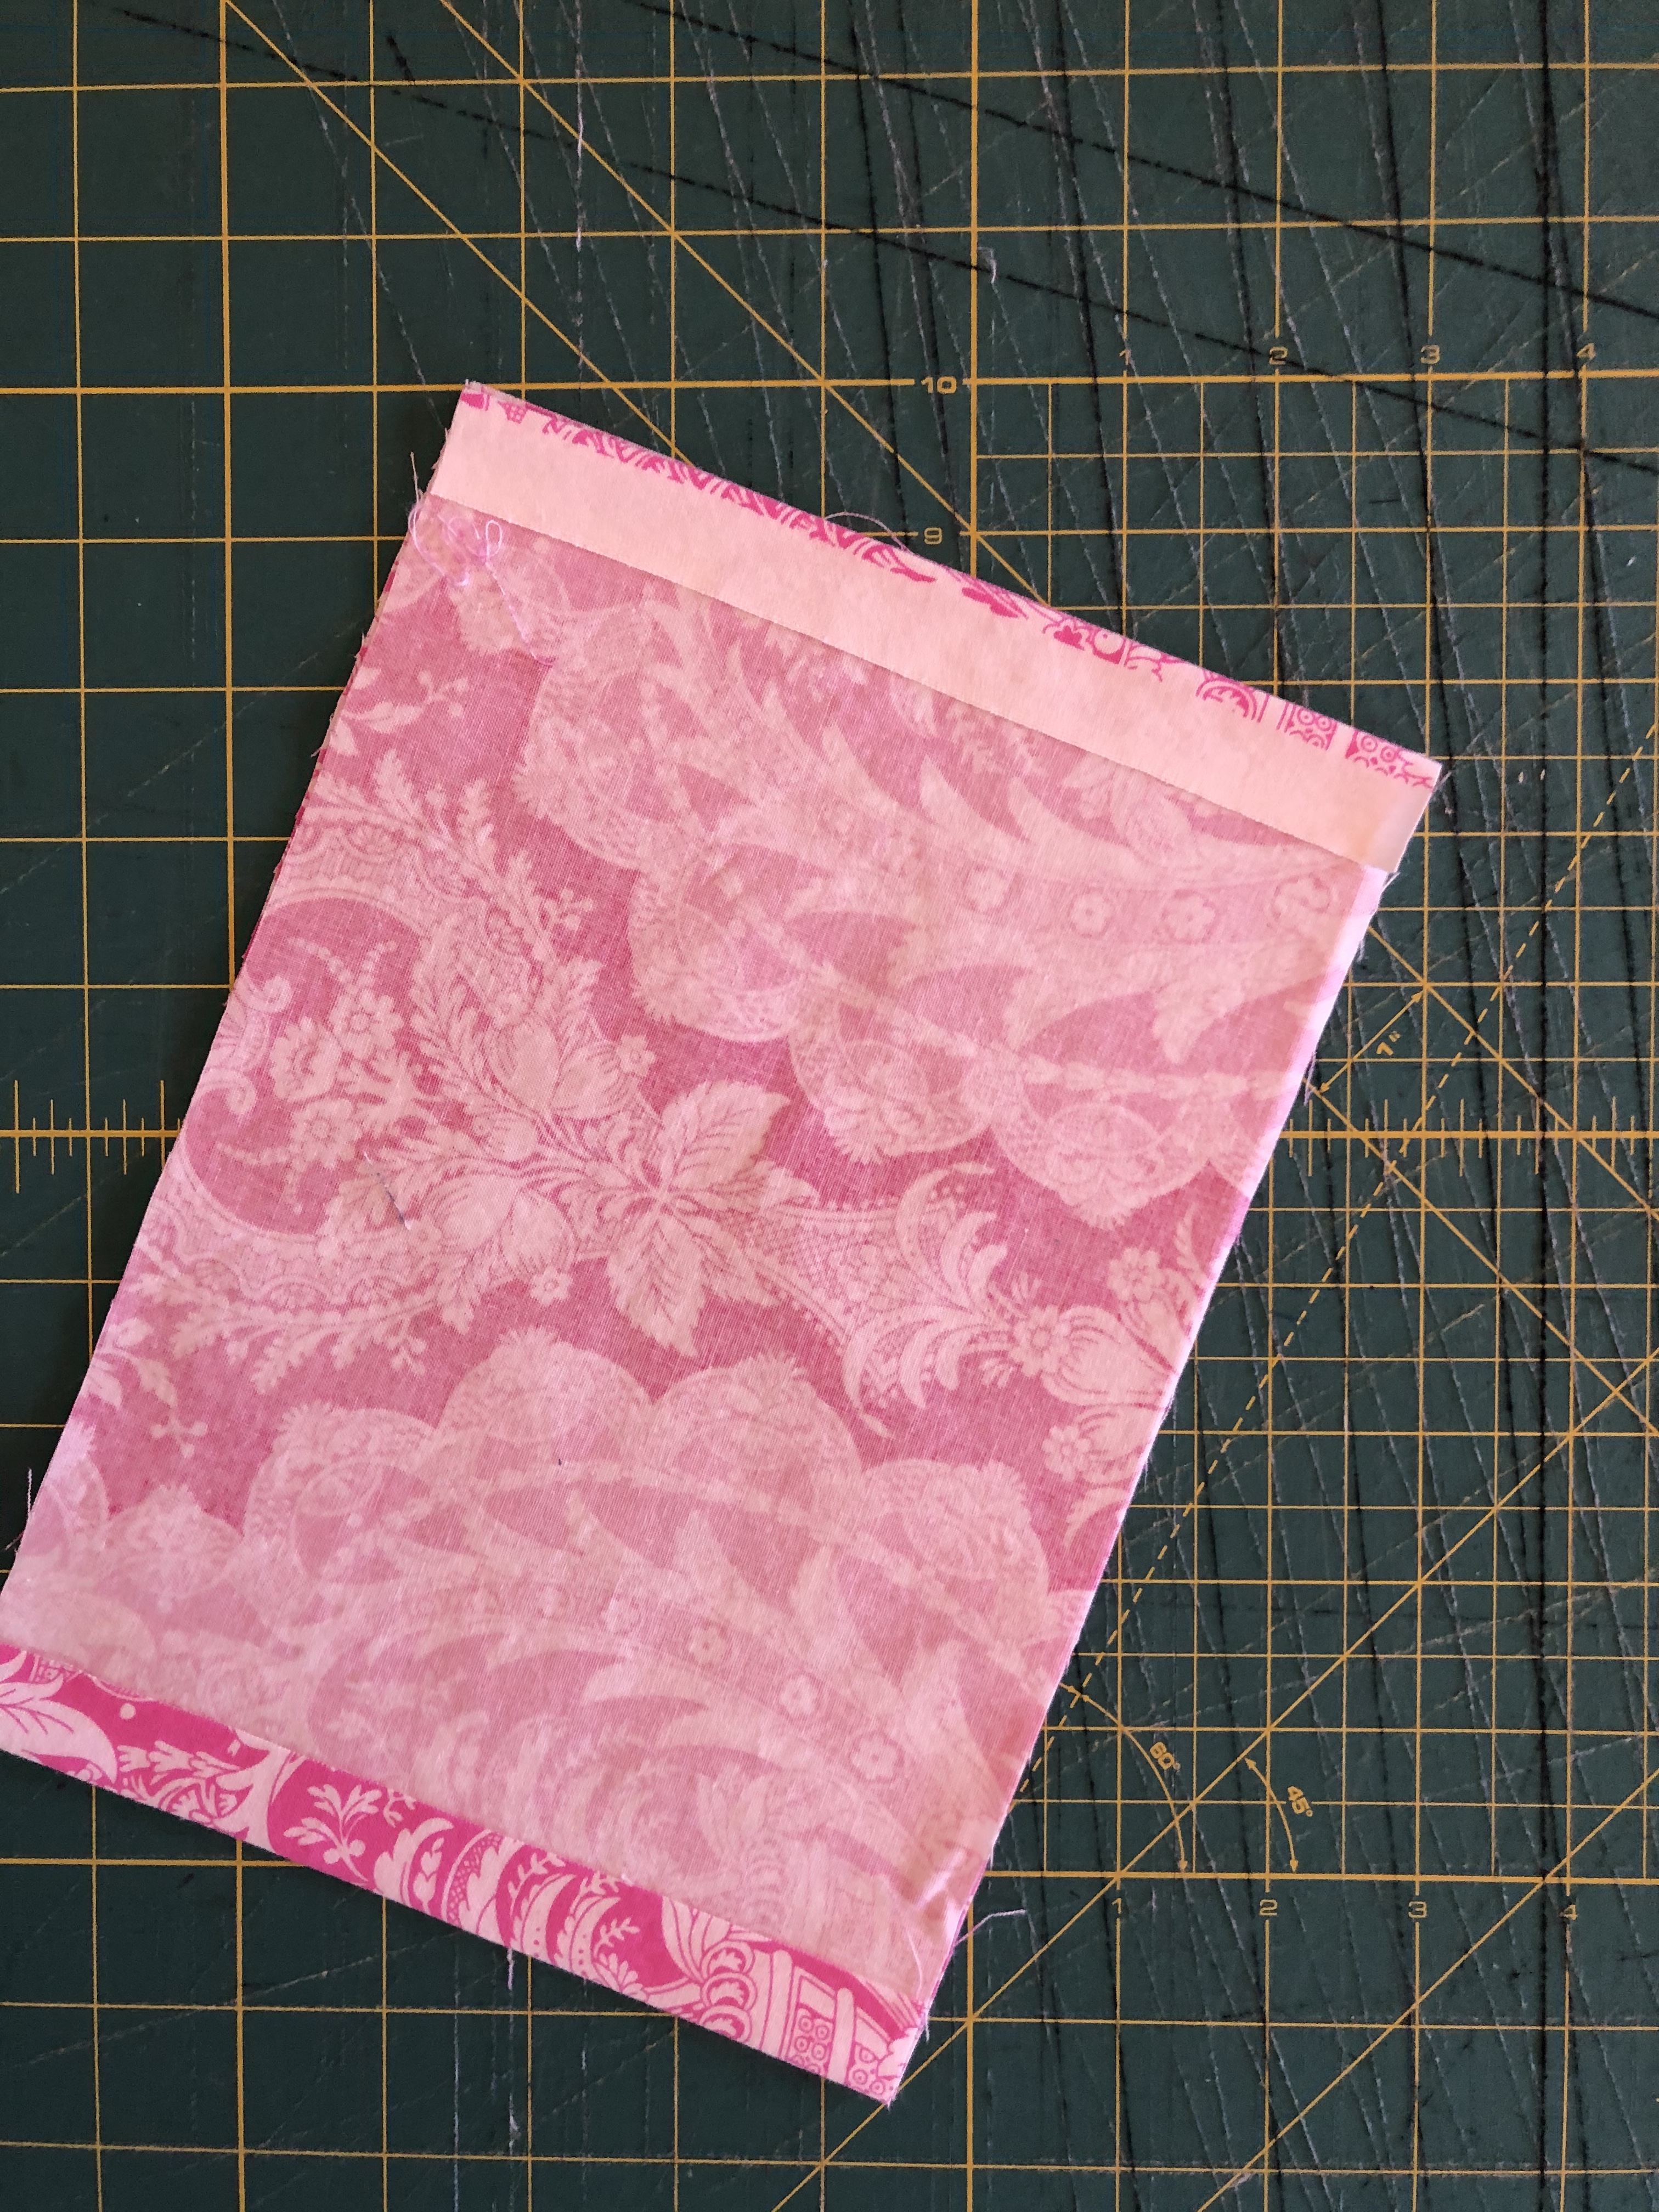


 Mark 2” in on each corner (1.75" for child size).


 Cut corner triangles off.


Unfold excess sides of main fabric and snip the little triangles off.


After cutting out fabric...


With right sides together, using a 3/8” seam allowance (1/4" for child size), stitch corner, top, corner and corner, bottom, corner; leaving sides open.


Turn right sides out through one of the sides and press. I let the casing fabric form angled edges.


Top stitch corner, top, corner and  corner, bottom, corner (this step is optional and gives the mask a more finished look, but it works fine without it).


Note: if you would like to add a nose wire, now is the time to do it.  Simply mark where the nose wire will be placed, sew 2 sides of a 3 sided channel. Keeping needle down in the fabric, lift the presser foot up and, through the side of the mask closest to you, insert the nose wire in the channel. Lower presser foot and complete 3rd side of the nose wire channel. (I'm hoping to add pictures of this step soon!)


Evenly fold top and bottom to the center. It should be 3” tall (2.5" tall for child size).


Measure 7” in the center and mark for sewing (6.5" for child size). Then, sew the flaps in place by sewing a rectangle (3”x 7”) in the middle of the mask (2.5" x 6.5" for child size). The rectangle secures the flaps in place while also top stitching the main part of the mask.


Place t-shirt tie as shown.


Fold edge over tie.


Fold over again to create casing and pin in place.


Stitch casing closed, catching the tie in the seam.


 Using a tapestry needle, thread ties through casing. If you don't have a tapestry needle, you can use a safety pin.


Tie a knot in the end of each tie.


Iron the flaps down on the mask.


You can fold it like this and pop it in your back pocket:


Monday, October 1, 2012

Mom's Window Seat Pillows


Last year, about this time, my mom asked if I would re-cover her kitchen window seat cushion.  

She picked out two great Kaffe Fasset fabrics and I got started figuring it out.  It was not an easy job for me (I'd never covered cushions before) and I was glad when it was over!  

So, when she asked me to also re-cover the pillows that sit in her window seat, I agreed to do it and then promptly shoved the pillows to the back of my closet and the back of my mind, forgetting about them until last week.  

I looked at the pillows I had been ignoring for a year and decided that I wanted them out of my closet.
I wasn't looking forward to working with piping again, but started looking for instructions on how to make pillow covers with piping anyway.  

I stumbled upon this Flip Side Pillow tutorial and thought it would be perfect for Mom's pillows - and NO piping!


It only took me an evening to make them and I love how they turned out!  I used button holes instead of grommets for the tie openings.  

Here they are sitting on the cushion I made last year:


I've always loved to surprise my mom.  I put them in Mom's window seat while she was gone at work, then I waited for the call.  

She was super surprised (she had forgotten about the pillows) and thrilled.  

She LOVED them!  

I also left her a jar of homemade granola.  Here it is sitting on the window sill next to her stained glass window:


This week I have plans to add some special touches to some unfinished dolls and list them in the My Gigi Doll Etsy Shop.  I also plan to work on finishing my bottled rainbows quilt that will be sent to my dad and step-mom for their home in Italy. 

What are you working on this week?